
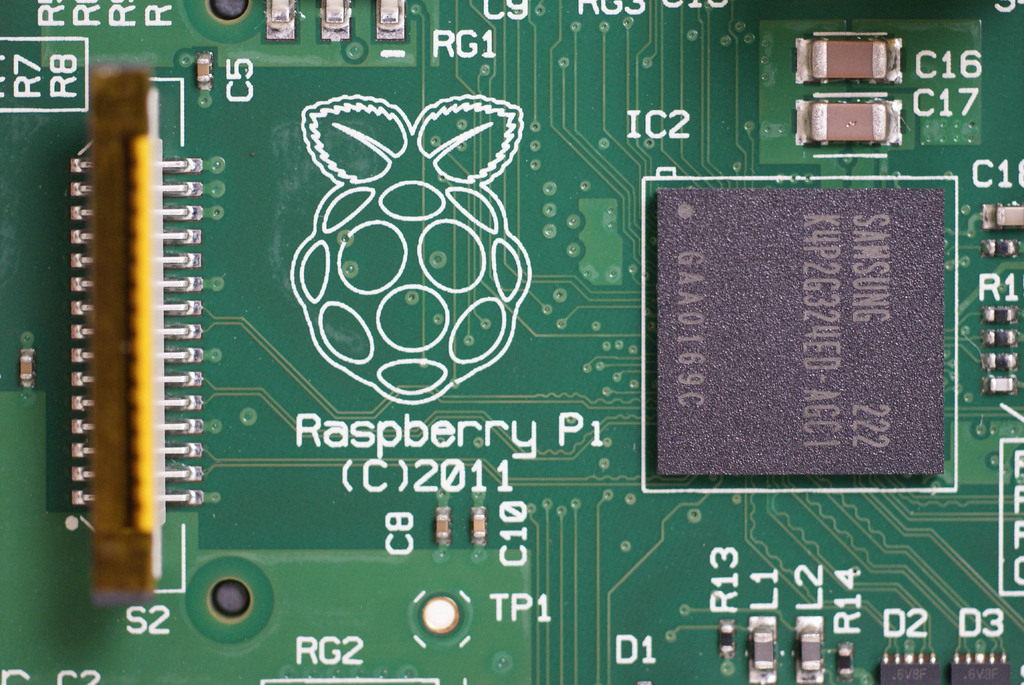
When the Raspberry Pi was released last year there was a boom of sales. Indeed, this low cost computer is a perfect educational device meant for hobbyist and designed to give an easy way to learn computer programming. Pi requires some extra work and time to use it. It’s hard to compare Pi with Linux desktop and for sure it couldn’t replace it but Pi can be truly called the Linux device of the year.
If you’ve ordered the Raspberry Pi computer, you’ve probably looked some things up and noticed that the credit-card sized computer is quite unconventional. There’s not even a power button! So the first thing you should learn is what you need, and what you need to do in order to boot up your Raspberry Pi.
Following are some instructions you can use to boot up your Pi, including the tools and connects you’ll need to get before your Pi reaches you, so that you can actually boot it up!
Essentials
There are some essential tools you’ll need to order or have ready. The Pi that you ordered is just the motherboard, and nothing else. If you’ve ever seen or used a Mac Mini, it’s quite similar in the sense that everything is purchased separately, except with the Pi that also includes power supplies.
Here’s what you’ll need to boot your Pi:
- The monitor. This is the tool that allows you to see what you’re doing. You can use a television if you have the right cords.
- The connector from your Pi to your monitor will be an HDMI cable, or something that can work with HDMI.
- The power supply you can use for your Pi is a simple micro-USB phone charger that is compatible with wall outlets instead of computers. These are pretty cheap and easy to find.
- Your Pi doesn’t have memory, so you will need to get an SD memory card that can work at minimum 8GB. If you’re going to be doing and downloading a lot on your Pi, the more memory the better.
- You will also need a USB-controlled keyboard and mouse.
- If you want to use the internet, you will need an Ethernet cable
Once you get these together with your Pi, follow these directions to successfully boot your new Raspberry Pi:
- Insert your SD memory card
- Hook up your monitor by using the HDMI cables or hookups you got
- Plus your USB keyboard and mouse in
- If you’re using the Ethernet cable, plug it in
- With everything else in place, plug in the USB-power supply.
- Your Raspberry Pi should automatically power up and take you to the Raspi-config window, where you will be able to setup your time and location.
- Select expand_roofts and hit reboot
- Upon the reboot you will be brought to the Raspberry login page. Type in the username: pi, and password: raspberry
- Once you see the pi@raspberry prompt, type starx to go to the desktop
You should be taken straight to the desktop after completing the last step. Congratulations on your first Raspberry Pi boot!
About Author: This is a guest post by Alexandra Seremina who works with http://www.azoft.com/mobile-application-development.htm – a mobile development company.